Using Publii with Github Actions
I wanted to use the excellent Publii software in the following way:
- Synchronize to a Github repository.
- Use Github actions in the same repo to publish to a website when triggered by a `git push` from step 1.
There are so many other ways to synchronize Publii that are less work. So why choose this one? In my case, I had a set of trusted scripts for Github actions that were unique to my deployment, and I wanted to reuse them. You might find for your situation it's easier to use one of the other synchronization options.
My advice is based on versions of Github and Publii from 2025.
Setup Github Synchronization Steps
1. Create a new repo on Github. Don't commit any files to the repo. Not even a readme.
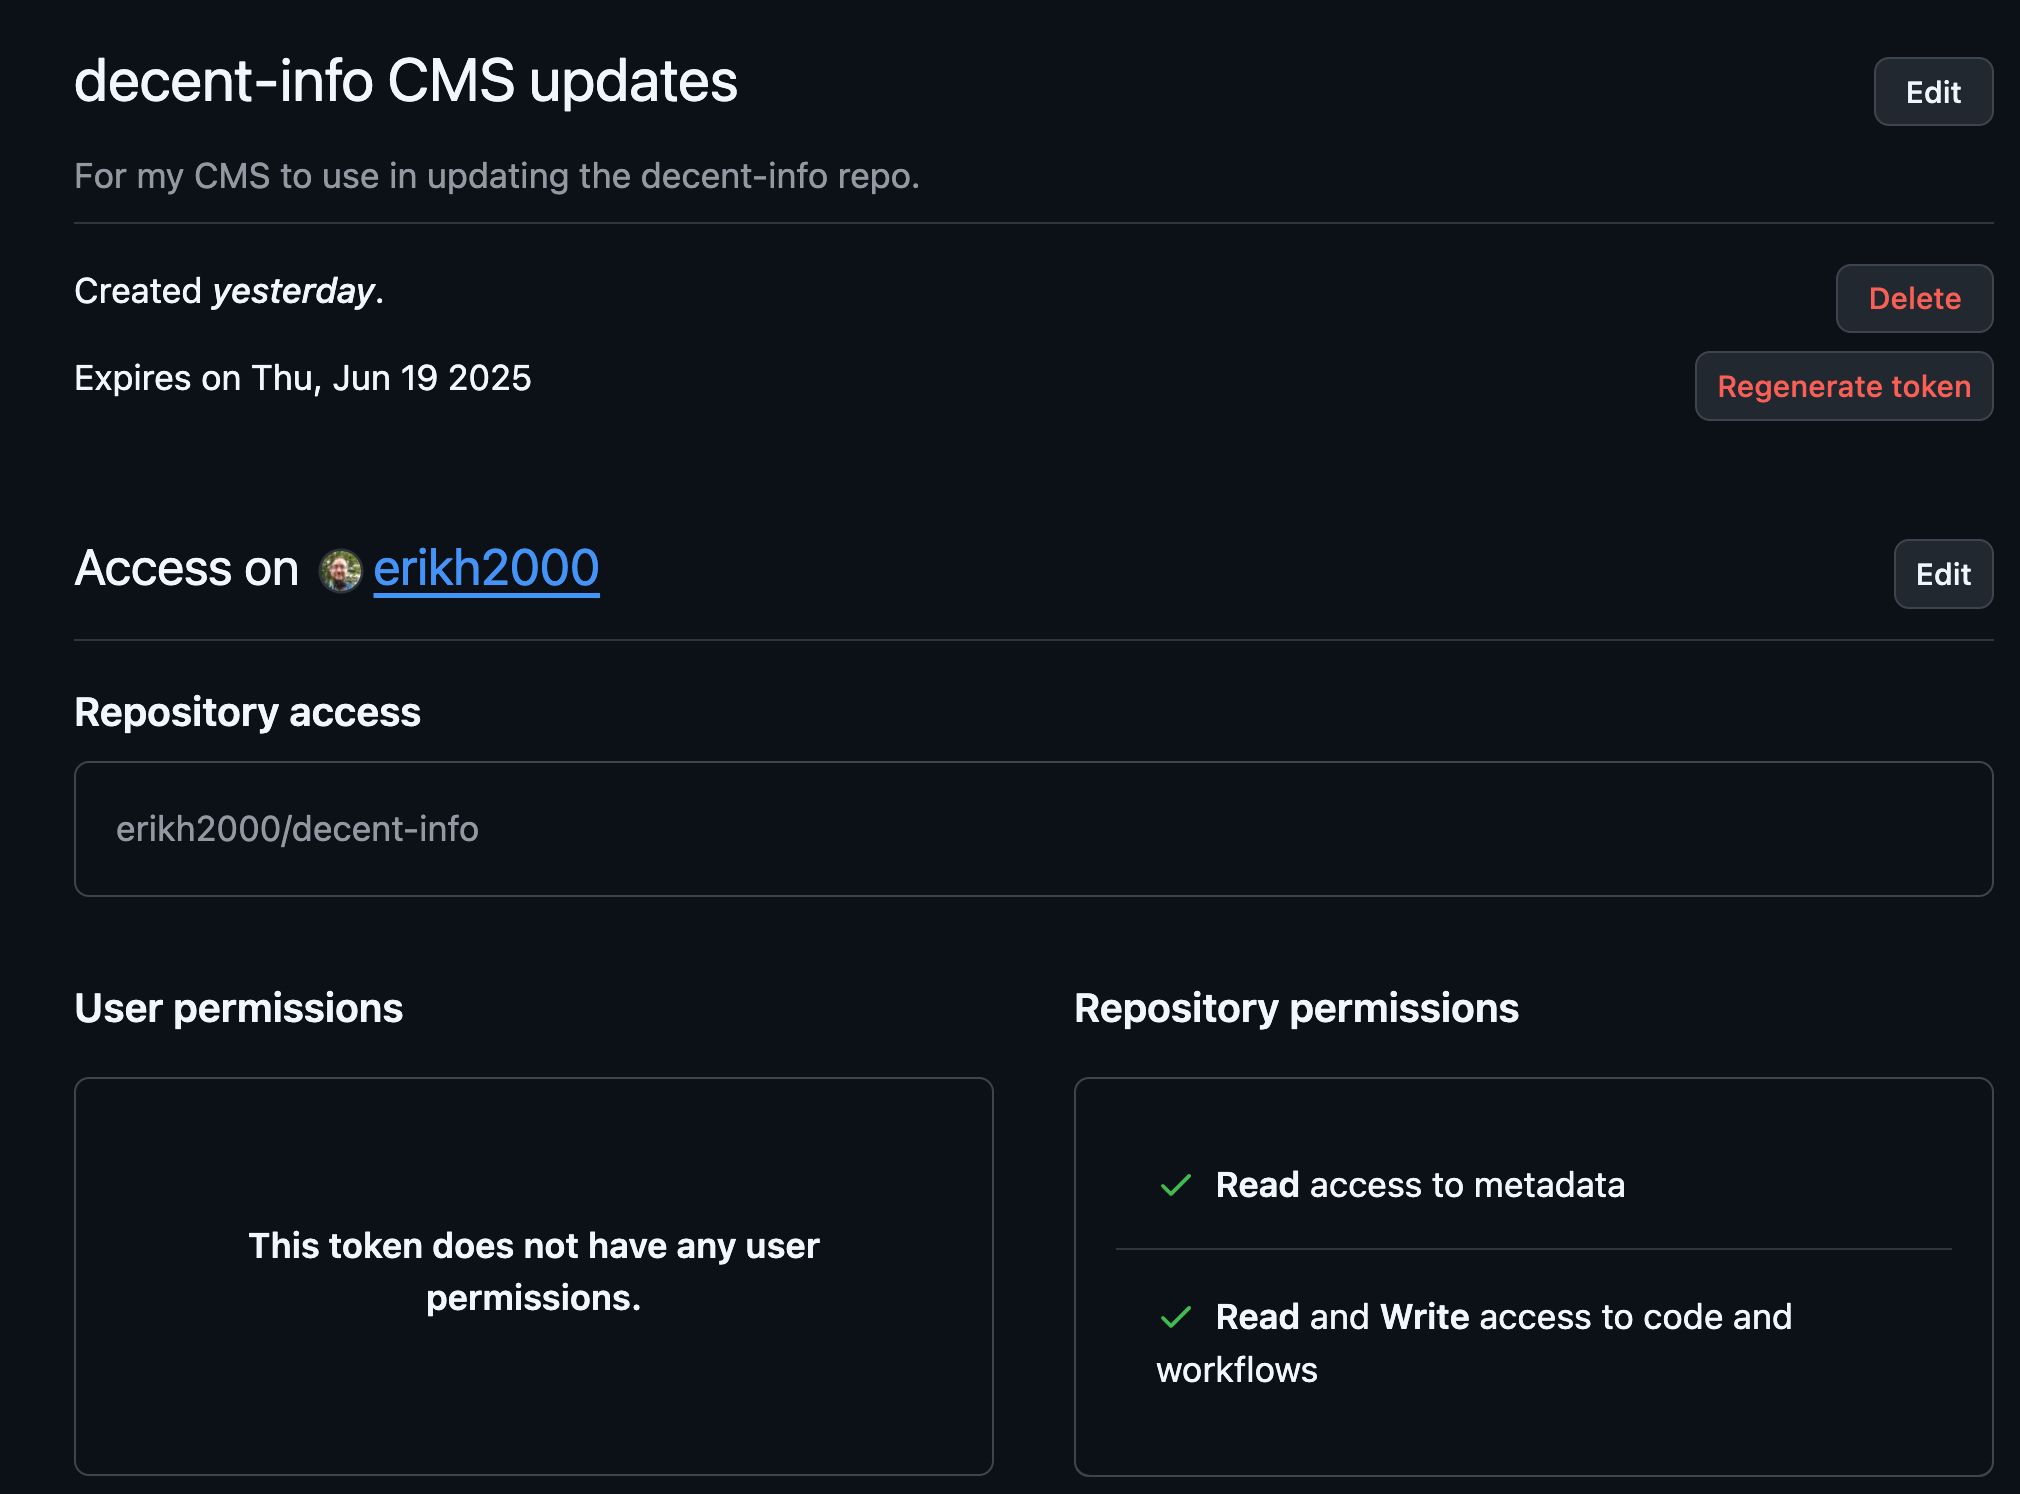
2. Created a fine-grained personal access token on Github with access limited to the repo in step 1, Read access to metadata, Read and write access to contents, Read and write access to workflows. (settings shown below)

Note that write access to workflows is a bit dangerous. See "Security Considerations" below.
3. Copy the PAT to your clipboard.
4. Configure Publii to synchronize with your new Github repository in the "Server" section of Publii. You can configure the fields as you like, but configuration should include pasting the PAT into the "Password / Token" field.
5. Click the "Test" button. Make sure you see no problems.
6. Choose "Sync Your Website" and perform a sync. Make sure you see no problems.
Adding Github Actions Steps
You now have a working synchronization. Let's see if we can add Github actions without breaking it. You might think that you could just "git clone" the repo to a new working directory, add the files for Github actions, and push it to the repo. But that will cause Publii's synchronization to break, as it doesn't seem to fetch/pull from the remote before it attempts to push, yielding an error like:
PushRejectedError: Push rejected because it was not a simple fast-forward. Use "force: true" to override.So the solution is to get Publii to recognize some extra files for the Github actions as part of what it must synchronize.
1. In an IDE or text editor, add a file under `(app data path)/Publii/sites/(your site name)/input/root-files/.github/workflows/deploy.yml`, creating the new ".github/workflows" folders.
2. Edit the content of `deploy.yml` to be whatever you want it to be. You might create the equivalent of a "hello world" script here, and come back and refine it later. See other docs about Github actions for advice here.
3. Open the "Files" tool in Publii to check that the ".github" folder is present. In theory, you could add the files in using Publii, but I didn't find any options in the File tool for adding folders.
4. Make some token change to any other file, like a page, so that the next step will work.
5. Choose "Sync Your Website" and perform a sync.
6. Verify things are working on Github, e.g. the ".github" folder is present in your repo, and the action ran.
Security Considerations
A strength of Publii is that it just uploads static content, and there are fewer attack surfaces and opportunities for malware, exfiltration, etc. It's one of the reasons why I chose it over say... Wordpress.
But giving Publii permission to write Github action scripts does require more trust be given to this software. While I have no reason to think Publii, its contributors, or its downstream dependencies are malicious, it's good to keep things locked down.
So I recommend after your edits to the Github action scripts are completed, to simply remove the read and write access to workflows for the personal access token. The synchronization will continuing working, and you can reenable "workflows" permissions if you need to make changes to your Github action scripts.

Fixing a Broken Synchronization (PushRejectedError)
If you, like me, tried pushing content to your repo outside of Publii, you might be seeing a message like this during website synchronization.
PushRejectedError: Push rejected because it was not a simple fast-forward. Use "force: true" to override.The easiest thing honestly might be to just create a new repo. Basically, start over from step 1 at the top of this doc.
If you're good with Git, then another option is to try to fix the working directory from the terminal. You will find it in `(app data path)/Publii/sites/(your site name)/output`. I fumbled through some commands and got it to work again, but I'm not great at Git, and don't feel confident in laying steps here that would universally work. Plus, it's hard to know what might mess up the Publii sync process.
So yeah, probably best to create a new repo rather than fix the working directory state.
Permission Granted to Publii Project and Maintainers
You may copy and adapt this text for use in your documentation however you like.
